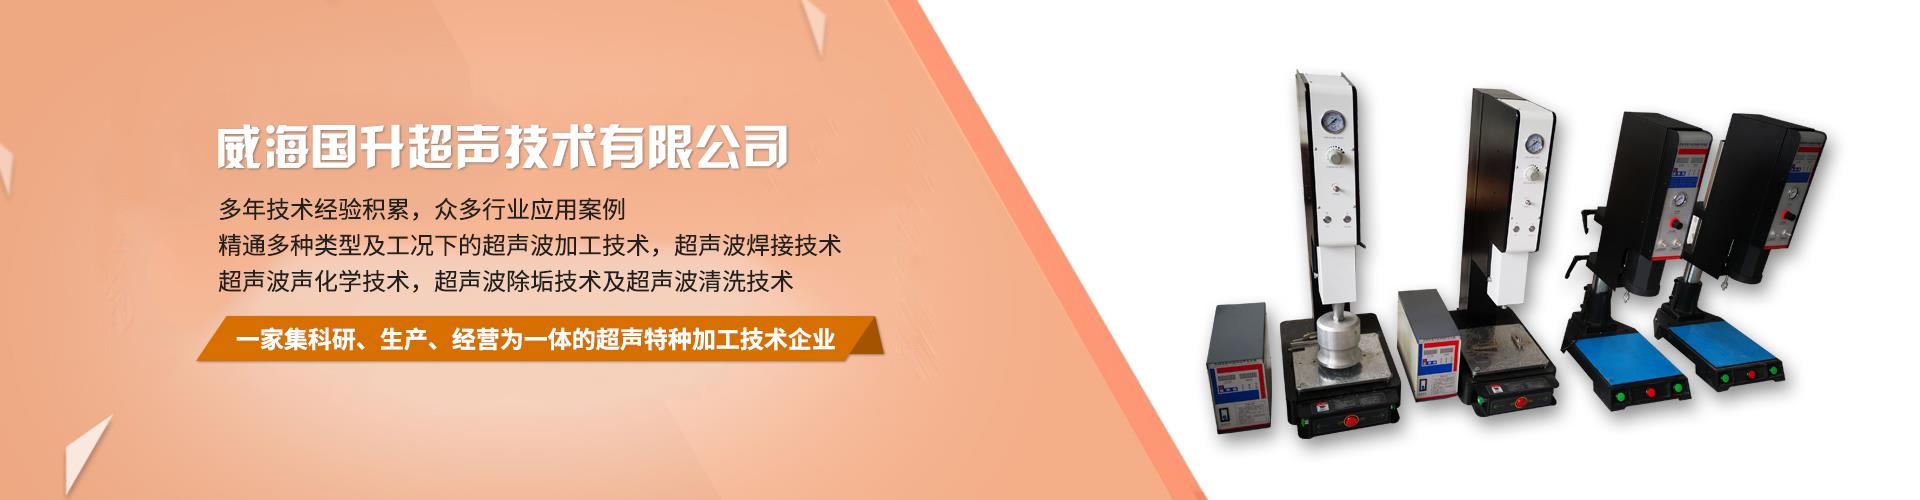
Attentions for installation of ultrasonic plastic welding machine:
1. Mould calibration procedures: In order to achieve mechanical energy, the distance between the upper welding die and the workpiece should be shortened as far as possible, but the necessary distance should still be left for the placement and disassembly of the workpiece. The lift platform has a stroke of 75 mm, so before calibrating the die, make sure that the upper welding die does not touch the workpiece in the process.
A) Put the selector switch in the manual position and adjust the pressure adjustment knob so that the pressure gauge can display about 0.2 Mpa (about the pressure that can raise the welding head);
B) Place the welding die on the worktable, and then place the workpiece in the lower welding die.
C) loosen the locking and shaking hands of the body and rotate the lifting handwheel so that the distance between the upper welding die and the workpiece is greater than 75 mm, and tighten the locking and shaking hands;
D) Press two down buttons with both hands to lower the upper welding die.
E) Loosen the fixing screw of the four vibrating heads, rotate the welding die to match the workpiece, and then lock the fixing screw of the four vibrating heads.
F) Loosen the stop screw and rotate the stop screw (M12X1) to contact the lifting platform. Press the emergency up button, raise the welding die, rotate the stop screw about 7mm.
G) Press two down buttons with both hands to lower the upper welding die. Relax the body lock and handshake, rotate the lifting handwheel, slowly reduce the upper welding die, move the lower welding die, make the working face and the upper welding die contact evenly, lock the body lock and handshake;
H) Press the emergency up button, raise the welding head, rotate the stop screw, and the stop screw will drop about 2 mm. The specific size depends on the workpiece, so during the operation, the stop screw can be disconnected from the lifting device. However, when there is no workpiece in the current welding die, the stop screw can prevent the upper welding die from contacting the lower welding die and protect the machine parts from damage.
I) Fix the lower welding die on the workbench with a screw press plate;
J) The above operation is the process of calibrating the die. During welding test, one side should be observed and adjusted. Copy paper can be used between workpiece and upper welding. The indentation on the white paper can be observed after the upper welding die is pressed down. According to the indentation depth, thin gaskets can be used to adjust the bottom of the welding die, so that the welding surface of the workpiece is evenly pressed in.
K) Adjust the direction and level of welding head of screw machine by plane adjustment.
2. Amplimeter shows the resonance degree of no-load vibration and the output energy of load vibration.
3. Before welding, sound wave detection is ensured to ensure the resonance between the vibration generating system and the vibration system.
4. After replacing the welding die, the sound detection procedure must be carried out.
5. When adjusting, if the overload indicator lights up, release the sound wave check button immediately. After about a second, turn the sound wave adjusting screw to adjust the sound wave selectively.
6. Correct tuning is very important. If it can not be adjusted to normal state and can not meet the requirements of item 5 of the sound wave detection procedure, please send it to repair immediately, unwilling to use, in order to avoid enlarging the fault.
7. The working pressure should not exceed 5 kg/cm.
8. By adjusting the selection screw of the sound wave, the pointer of the amperemeter will swing left and right, but this does not mean the power output, but the resonance between the vibration generating system and the vibration system. The smaller the scale, the better the resonance.